Gmail Add-on
Using smartQ for Gmail
With smartQ for Gmail Add-on you can create tickets from emails with a few clicks!
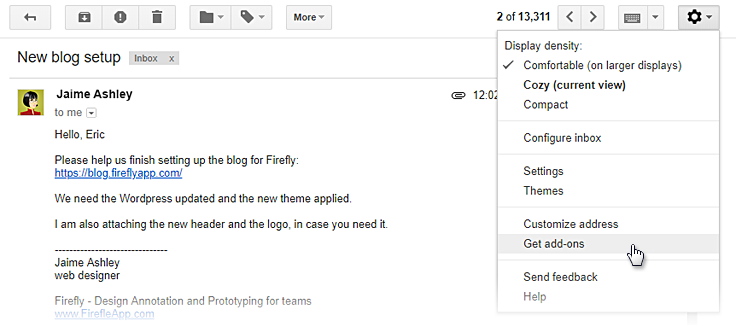
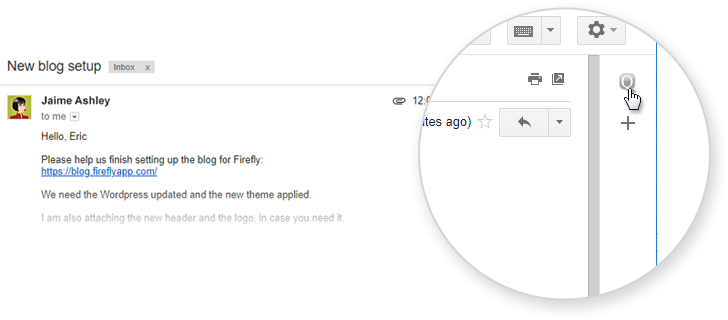
After you install the add-on (see instructions below), you will see smartQ button in Gmail on the ribbon on the right edge:
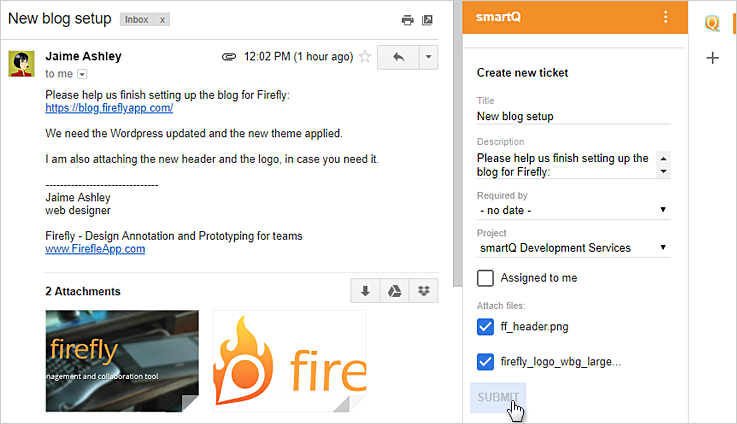
With an email selected, clicking the "smartQ" button opens the "Create new ticket" form. You can adjust the ticket name and description, set the deadline, choose the project/board it will be posted to and assign yourself to the team. Click "Submit" to create the ticket.
After the ticket is created you will see a confirmation message with the link to the ticket.
Email subject will become the ticket name and the email body — the ticket description. All attachments will be automatically linked to the ticket.
Related blog post: Automating tickets creation from emails using email forwarding and filters.
Installing smartQ for Gmail Add-on